Usually, a high-level programming language like Python is ideal for scientific computing. The ease of development and enormous supply of published libraries are two reasons many scientists choose Python as their primary tool for building models, manipulating data and performing analyses. Python also makes it much easier to share and distribute code, making research more repeatable and contributing towards a more open scientific process.
However, in some cases, more performance is required than raw Python can provide. The first solution to this is to find a published package that contains your required functionality that is written as a low-level language – numpy,scipy and scikit-learn are great examples of this. Yet sometimes a package for exactly what you need isn’t available, or there is a tool already available in C++.
The advantage of a low-level language like C++ is that it gives control to the programmer and is generally much faster than Python. However, writing programs written in C++ can be extremely time consuming and become much more difficult to distribute, particularly for different platforms. So what we really want is the best of both worlds – an easy-to-use, extensible, high-level language to set up and manage our models, but the compute-intensive elements are performed as efficiently as possible.
This post assumes a decent level of knowledge with Python and C++ and a basic knowledge of how Python package management for pip and conda works.
The aim of this post is to integrate the two approaches: use Python for setting up a simulation and handling high-level logic, whilst a powerful C++ simulator handles the actual simulation. On top of that, our code will be distributed through PyPi and Conda so that anyone can download and install it. The steps are:
- Write the C++ simulator.
- Write a Python API to the C++ simulator.
- Generate the C++ code necessary for interfacing between Python and C++. This exposes the objects from C++ to Python.
- Develop the other necessary pieces required for publishing the package to PyPi, including a custom setup process using cmake.
- Describe the general process for getting a package ready for conda-forge.
Project structure
We shall use the following structure for our Python package. All the code for this project can be found on GitHub.
├── README.md
├── examples.ipynb <- a jupyter notebook for testing
├── rfsim <- the root directory for the Python module
│   ├── __init__.py
│   ├── installer.py <- contains functions for installing our package
│   ├── lib <- the folder containing the C++ extension
│   │   ├── All the C++ .h and .cpp files
│   ├── librfsim
│   │   ├── __init__.py
│   │   └── librfsim.so <- this is the shared library we will build
│   └── tests <- a couple of quick tests (obviously yours will be much more complete)
│       └── test_landscape.py
└── setup.py <- required by setuptools for package installation
Writing a C++ simulator
TL;DR – I write a simple C++ simulator – skip to the next section for the more important package-related stuff
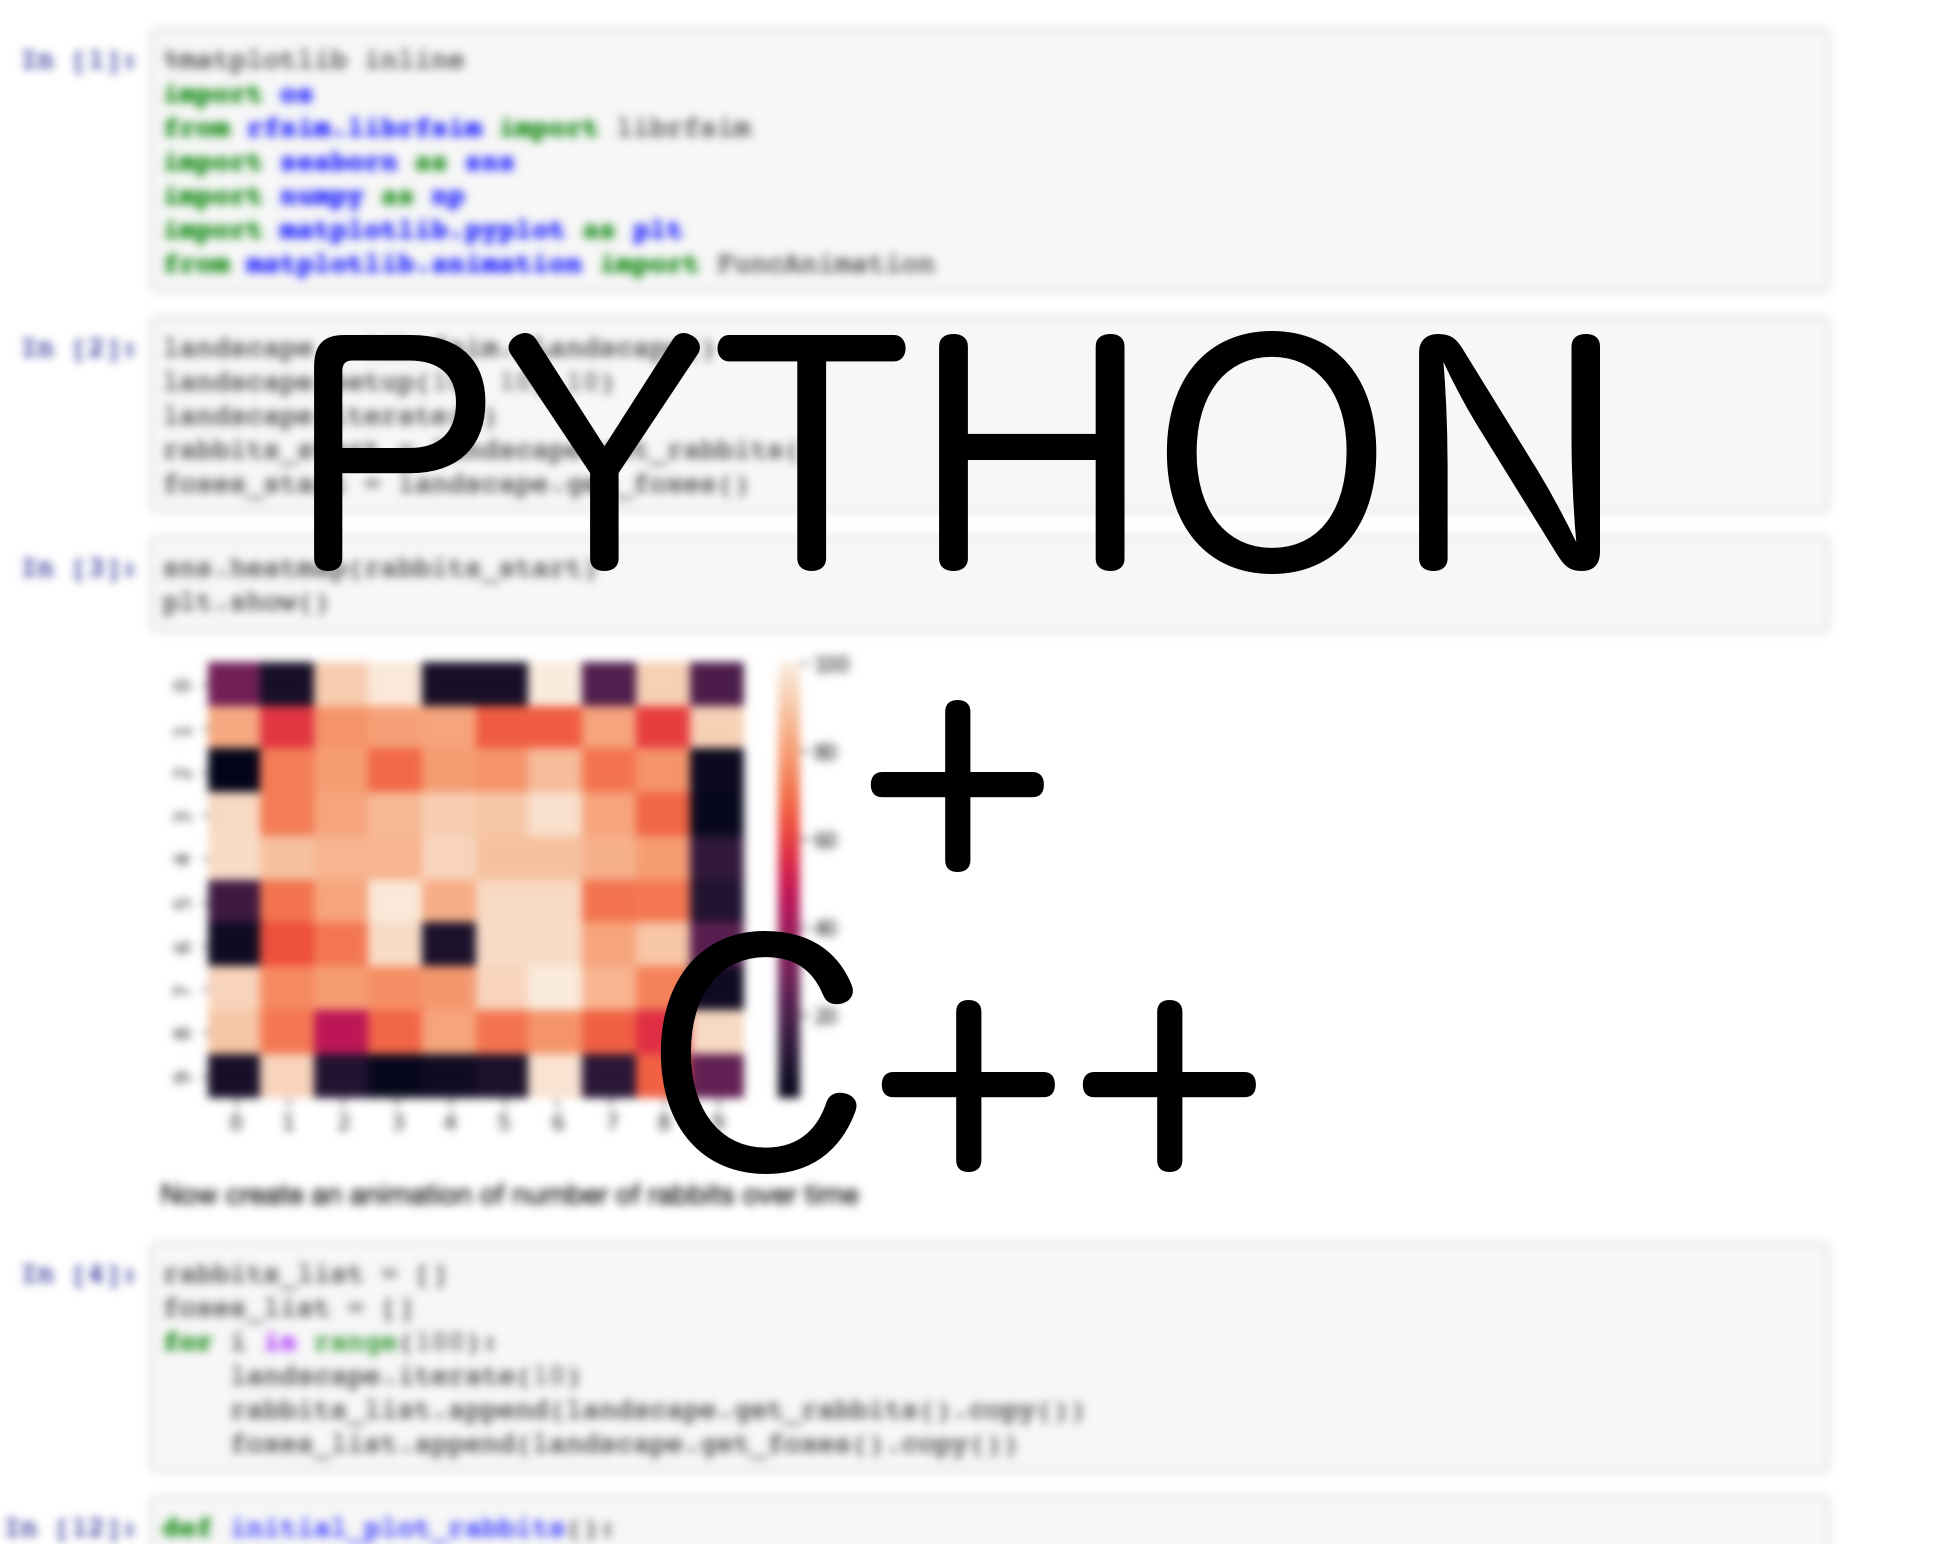
We must first write some C++ code that does something relatively compute intensive that would be too slow to perform in python. We are going to use a toy simulation of rabbits and foxes moving about a landscape as an example. The rules we will follow are:
- Grass grows in every square at a constant rate.
- Rabbits eat grass to build energy.
- Rabbits spend energy to reproduce, once they reach a threshold.
- Rabbits spend energy to move, if there is a fox in their cell, or the cell runs out of food.
- Foxes eat rabbits according to the number of rabbits in a cell.
- Foxes can also move to follow rabbits and reproduce, costing energy.
The steps of the model will be:
- The grass grows.
- Every rabbit eats grass (if it can).
- Every fox eats rabbits (if they can).
- The rabbits move or reproduce.
- The foxes move or reproduce.
- Animals which are too old or have run out of energy, die.
Obviously this model is extremely simple, but is meant to be representative of much more complex behaviour. My implementation uses a few basic C++ classes – a base Animal class, Fox and Rabbit classes for each species, then a number of convenience classes, including a Matrix, random number controller (RNGController) and a Cell for each location. All this is held within the Landscape class. Now that we have the basic functionality, we need to write the interface between Python and C++.
Interfacing C++ with Python
There are several alternative to the way I achieve things here, including swig, Cython and ctypes – do check them out first to see if their approach works for you; here, we do everything manually.
For this we write one file, the PyWrapper.h which contains the Python object (PyLandscape) that will be exposed. It contains a std::shared_ptr<Landscape> field which holds the simulation landscape. We need to define the traverse, clear, dealloc, new and init methods for Python to call (although in our case most of these can be empty – see PyWrapper.h in the GitHub repo for details.
We also define the methods that will be called from Python. For setting up our object, it looks something like
static PyObject *setup(PyLandscape *self, PyObject *args)
{
    // Set up the simulation, catch and return any errors.
    unsigned long seed;
    unsigned long x_size, y_size;
    // parse arguments
    if(!PyArg_ParseTuple(args, "kkk", &seed, &x_size, &y_size))
    {
        return nullptr;
    }
    try
    {
        self->landscape->setSeed(seed);
        self->landscape->setLandscapeSize(x_size, y_size);
    }
    catch(exception &e)
    {
        return nullptr;
    }
    Py_RETURN_NONE;
}
Our setup function takes three integers (technically unsigned longs), which are filled using the PyArg_ParseTuple – this can be customised to take any number and type of variables, including Python objects or keywords. Notice how these functions always return a Python object pointer, which can be None. We define similar behaviours for other functions, including one to return a numpy array of the number of rabbits in each cell.
static PyObject *getRabbitsArray(PyLandscape *self, PyObject *args)
{
    // Set up the simulation, catch and return any errors.
    try
    {
        // this is required for numpy
        import_array1(nullptr);
        // Dimensions of the numpy array
        npy_intp dims[2]{static_cast<long int>(self->landscape->getRows()),
                         static_cast<long int>(self->landscape->getCols())};
        // the output data
        int *out_rabbits = new int[self->landscape->getRows() * self->landscape->getCols()];
        unsigned long index = 0;
        for(unsigned long i = 0; i < self->landscape->getRows(); i++)
        {
            for(unsigned long j = 0; j < self->landscape->getCols(); j++)
            {
                out_rabbits[index] = static_cast<int>(self->landscape->get(i, j).getNumRabbits());
                index++;
            }
        }
        PyObject *pArray = PyArray_SimpleNewFromData(2, dims, NPY_INT, (void *) out_rabbits);
        PyObject *capsule = PyCapsule_New(out_rabbits, NULL, capsuleCleanup);
        // NULL can be a string but use the same string while calling PyCapsule_GetPointer inside capsule_cleanup
        PyArray_SetBaseObject((PyArrayObject *) pArray, capsule);
        return pArray;
    }
    catch(exception &e)
    {
        return nullptr;
    }
    Py_RETURN_NONE;
}
This behaviour can help directly expose objects from your C++ class to Python in a relatively efficient manner. We now generate the set of methods that will be exposed for our Python class.
static PyMethodDef *genPyLandscapeMethods()
{
    static PyMethodDef PyLandscapeMethods[] = {
            {"iterate",     (PyCFunction) iterate,         METH_VARARGS,
                    "Run the simulation"},
            {"get_rabbits", (PyCFunction) getRabbitsArray, METH_VARARGS,
                    "Get the array of rabbits"},
            {"get_foxes",   (PyCFunction) getFoxesArray,   METH_VARARGS,
                    "Get the array of foxes"},
            {"setup",       (PyCFunction) setup,           METH_VARARGS,
                    "Set up the simulation."},
            {nullptr}  /* Sentinel */
    };
    return PyLandscapeMethods;
}
And also the PyTypeObject which holds the full definition of our exposed object, giving it the name librfsim.CLandscape. It is good practice to call all the C++ libraries libx for a given Python module x. I’ve called this package rfsim (Rabbit Fox SIM).
PyTypeObject genPyLandscapeType(char *tp_name, char *tp_doc)
{
    auto genPyTemplateNew = PyLandscape_new;
    auto genPyTemplateInit = PyTemplate_init;
    auto genPyTemplateDealloc = PyTemplate_dealloc;
    auto genPyTemplateTraverse = PyTemplate_traverse;
    auto genPyTemplateMethods = genPyLandscapeMethods();
    PyTypeObject ret_Simulation_Type = {
            PyVarObject_HEAD_INIT(nullptr, 0)
    };
    ret_Simulation_Type.tp_name = tp_name;
    ret_Simulation_Type.tp_doc = tp_doc;

    ret_Simulation_Type.tp_basicsize = sizeof(PyLandscape);
    ret_Simulation_Type.tp_itemsize = 0;
    ret_Simulation_Type.tp_flags = Py_TPFLAGS_DEFAULT | Py_TPFLAGS_BASETYPE | Py_TPFLAGS_HAVE_GC;
    ret_Simulation_Type.tp_new = genPyTemplateNew;
    ret_Simulation_Type.tp_init = (initproc) genPyTemplateInit;
    ret_Simulation_Type.tp_dealloc = (destructor) genPyTemplateDealloc;
    ret_Simulation_Type.tp_traverse = (traverseproc) genPyTemplateTraverse;
    ret_Simulation_Type.tp_methods = genPyTemplateMethods;
    return ret_Simulation_Type;
}
static PyTypeObject C_Landscape_Type = genPyLandscapeType((char *) "librfsim.CLandscape",
                                                          (char *) "C class for rabbit and fox simulations.");
To create the module which will be imported into Python requires a lot more boilerplate in the clib.h and clib.cpp classes. The most important section is where we define the module name and which classes (including a custom error class) will be exposed). Note the #if PY_MAJOR_VERSION >=3, demarcating areas where the API for Python 2 and Python 3 differs.
#if PY_MAJOR_VERSION >= 3
static PyModuleDef genPyModuleDef()
{
	PyModuleDef tmpModuleDef = {
			PyModuleDef_HEAD_INIT,
	};
	tmpModuleDef.m_name = "librfsim";
	tmpModuleDef.m_doc = "Wrapper for c++ library which performs simulations of rabbits and foxes on a landscape.";
	tmpModuleDef.m_size = -1;
	return tmpModuleDef;
}
static PyModuleDef moduledef = genPyModuleDef();


#define INITERROR return NULL

PyMODINIT_FUNC
PyInit_librfsim(void)
#else
#define INITERROR return

PyMODINIT_FUNC
initlibrfsim(void)
#endif
{

    PyObject *module;
#if PY_MAJOR_VERSION >= 3
    module = PyModule_Create(&moduledef);
#else
    module = Py_InitModule("librfsim", LibMethods);
#endif
    if(module == nullptr)
    {
        INITERROR;
    }
    try
    {
        readyPyTypeObject(&C_Landscape_Type);
    }
    catch(runtime_error &re)
    {
        INITERROR;
    }
    // Threading support
    if(!PyEval_ThreadsInitialized())
    {
        PyEval_InitThreads();
    }
    // This is required for numpy
    import_array1(nullptr);
    librfsimError = PyErr_NewException((char*)"librfsim.librfsimError", nullptr, nullptr);
    Py_INCREF(librfsimError);
    PyModule_AddObject(module, "librfsimError", librfsimError);
    PyModule_AddObject(module, (char*)"CLandscape", (PyObject *) &C_Landscape_Type);
#if PY_MAJOR_VERSION >= 3
    return module;
#endif
}
Customising the setup process for setuptools
The final part of writing the interface requires writing a custom installer for Python, as it doesn’t usually need to compile C++ code. I use cmake because it provides a relatively portable, straightforward way of compiling the code with different compilers, including handling finding and linking to other libraries. This becomes important if you have additional dependencies written in C++. I won’t go over the whole CMakeLists.txt file here, but it can easily be customised to meet your projects requirements.
To install a C++ library within Python, we must compile and link the code to the exact same version of Python. The installer.py file contains my implementation, calling cmake and detecting the correct flags to pass on to the compiler. The main Installer class uses the subprocess module to compile our package in the relevant directory. There are a few extra checks (such as additional flags if compiling under conda and command-line interface with a few basic options that can be handy for testing. The main function, setuptools_cmake, is the entry point for setuptools, which will be used by pip and conda.
class Installer(build_ext):  # pragma: no cover
    """Wraps configuration and compilation of C++ code."""

    # Other functions hidden

    def setuptools_cmake(self, ext):
        """
        Configures cmake for setuptools usage.

        :param ext: the extension to build cmake on
        """
        if 'conda' not in sys.version and 'Continuum' not in sys.version:
            extdir = os.path.abspath(os.path.join(os.path.dirname(self.get_ext_fullpath(ext.name)), "rfsim",
                                                  "librfsim"))
        else:
            sp_dir = os.environ.get("SP_DIR")
            if sp_dir is None:
                sp_dir = os.path.abspath(os.path.dirname(self.get_ext_fullpath(ext.name)))
            extdir = os.path.join(sp_dir, "rfsim", "librfsim")
        cmake_args, build_args = self.get_default_cmake_args(extdir)
        env = os.environ.copy()
        env['CXXFLAGS'] = '{} -DVERSION_INFO=\\"{}\\"'.format(
            env.get('CXXFLAGS', ''),
            self.distribution.get_version())
        if "INTEL_LICENSE_FILE" in env.keys():
            env["CXX"] = "icpc"
            env["CC"] = "icc"
            cmake_args.extend(["-DCMAKE_C_COMPILER=icc", "-DCMAKE_CXX_COMPILER=icpc", "-DUSING_INTEL=ON"])
        self.run_cmake(ext.sourcedir, cmake_args, build_args, self.build_temp, env)
Our package installation file, setup.py, lives outside the main package directory. We use a custom extension class and supply a few additional arguments to make our package use the Installer class we defined to build properly.
class CustomExtension(Extension):
	def __init__(self, name, sourcedir=''):
		Extension.__init__(self, name, sources=[])
		self.sourcedir = os.path.abspath(sourcedir)


long_description = "a very long description of your package (or read from the readme)."


setup(name='rfsim',
	  version=p_version,
	  description='A toy rabbit and fox simulation demonstrating C++ extensions with python',
	  author='Sam Thompson',
	  author_email='samuel.thompson14@imperial.ac.uk',
	  url='https://thompsonsed.co.uk',
	  long_description=long_description,
	  long_description_content_type="text/x-rst",
	  ext_modules=[CustomExtension("librfsim", os.path.join("rfsim","lib"))],
	  cmdclass=dict(build_ext=Installer),
	  license='MIT',
	  packages=find_packages(exclude=["*tests*", 'docs']),
	  classifiers=['Development Status :: 4 - Beta',
				   'License :: OSI Approved :: MIT License',
				   'Operating System :: MacOS',
				   'Operating System :: MacOS :: MacOS X',
				   'Operating System :: Microsoft :: Windows :: Windows 10',
				   'Operating System :: POSIX',
				   'Programming Language :: C++',
				   'Programming Language :: Python :: 2.7',
				   'Programming Language :: Python :: 3.6',
				   'Programming Language :: Python :: 3.7',
				   'Programming Language :: Python :: 3',
				   'Programming Language :: Python :: Implementation :: CPython',
				   'Topic :: Scientific/Engineering',
				   'Intended Audience :: Science/Research',
				   'Natural Language :: English',],
	  zip_safe=False,
	  keywords='modelling',
	  install_requires=['numpy'],
	  extras_require={
		  'scipy': ['scipy>=0.12.0'],
		  'plotting': ['matplotlib']}
      )
Now we have the final piece, we can run python setup.py develop – this should build the C++ module and install it locally, and then create links in the python environment so that the package appears properly – very handy for testing and developing the package. We can now import our package from the Python environment using from rfsim.librfsim import librfsimand then we can use our object as landscape = librfsim.CLandscape(). The package can be used as
from rfsim.librfsim import librfsim

landscape = librfsim.CLandscape()
# Define the seed (1) and the x, y dimensions (10x20)
landscape.setup(1, 10, 20)
# Perform a single iteration
landscape.iterate(1)
# Get numpy arrays of the rabbits and foxes
rabbits = landscape.get_rabbits()
foxes = landscape.get_foxes()
Testing the package locally
Once we’ve installed our package locally, we can run a few tests (see the tests folder). Next we can try running a jupyter notebook and playing around with our package.
Getting ready for PyPi and conda-forge
Before distributing the package via PyPi, we must write a MANIFEST.in and a requirements.txt to define which files we include from the local directory into the package, and which python packages are requirements, respectively. Check here for more information.
We can then upload it to PyPi. Start by uploading to the test servers first (things inevitably go wrong!), but the process is much the same as if you were uploading a plain Python package – we’ve already written most of the required boilerplate. Check out this page for lots of information relating to distributing Python packages.
For our use case, we can create the distributed package using python setup.py sdist and then upload this file using twine. It’s recommended to use keyring with twine so that you don’t store your passwords in plain text. Get setup with twine, then run twine upload --repository-url https://test.pypi.org/legacy/ x where x is the tar ball of the package.
That’s it – phew! Now other people can install our package from PyPi – assuming they have all the dependencies already installed… In order to help them out with this, we can provide a pre-compiled package version via conda-forge. I won’t go over the whole process, but the important part is writing a recipe. First, fork this GitHub repo and make a new folder in the recipe folder for our package.
We now write a recipe which provides the instructions for how conda should install our package. The GitHub repo provides a recipe template that you can work off. The key things to change are the package name, version, sha256 hash (this should be of the compressed package created by python setup.py sdist)and the url. In your base conda environment, install conda-build and conda-smithy from the conda-forge channel. You’ll need to use conda-smithy rerender to rerender your recipe with the latest setup from conda-forge (this basically specifies the testing and build requirements for each operating system). Then you can run conda-build -c conda-forge . from the conda-recipe folder in the repo. This creates a new temporary environment for your package and attempts to install it there. It’s then a case of getting the requirements right until you have everything working properly. Without too much work you should have a package that compiles and is ready to be distributed via conda-forge.
Hopefully this guide gives enough of an overview for getting started in writing and distributing scientific packages in C++ and Python. If you spot any errors, please submit a pull request. Check out my pycoalescence package on conda-forge and bitbucket for a working example.